
How to install Nginx on Ubuntu

Introduction
NGINX is a free, open-source, high-performance HTTP server and reverses proxy, as well as an IMAP/POP3 proxy server. NGINX is known for its high performance, stability, rich feature set, simple configuration, and low resource consumption. This article will show you how to install Nginx on Ubuntu and use it as a web server or reverse proxy.
Install Nginx
ssh user@hostname
- The
useris the username of your server. (e.g.root) - The
hostnameis your server's public IP address. (e.g.123.45.67.890)
After you press enter, a prompt will pop up asking for your password. When typing your password, you will not see anything in your terminal.

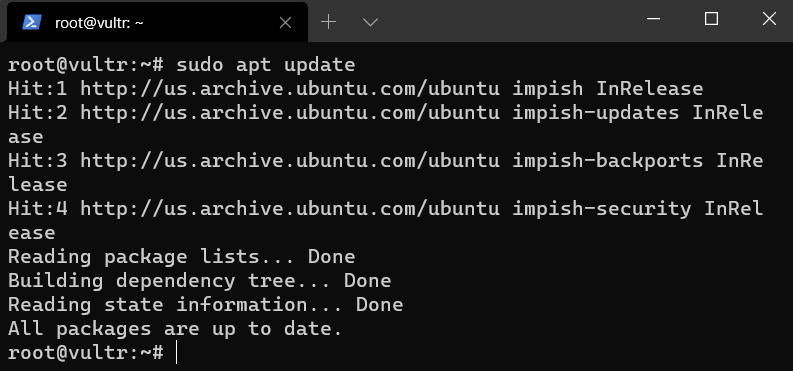
Before you start installing Nginx. You need to make sure that you have the latest updates installed.
sudo apt update
Install Nginx from Ubuntu package manager.
sudo apt install nginx
To verify if Nginx is running. Run the following command:
sudo systemctl status nginx

Grant access to Nginx
You must enable Nginx through the firewall software to allow access.
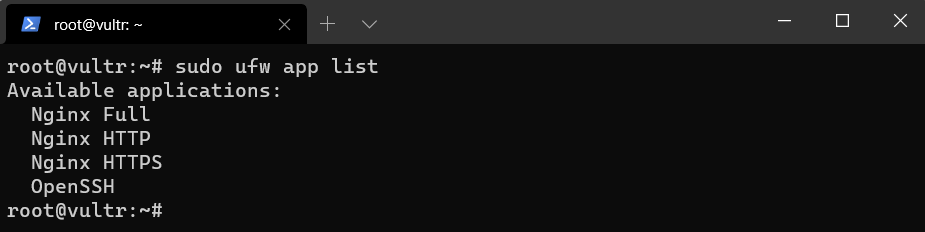
Display available applications that ufw knows by running the following command:
sudo ufw app list
You will get the following output:
We only want to allow HTTP traffic on port 80. Run the following command:
sudo ufw allow 'Nginx HTTP'
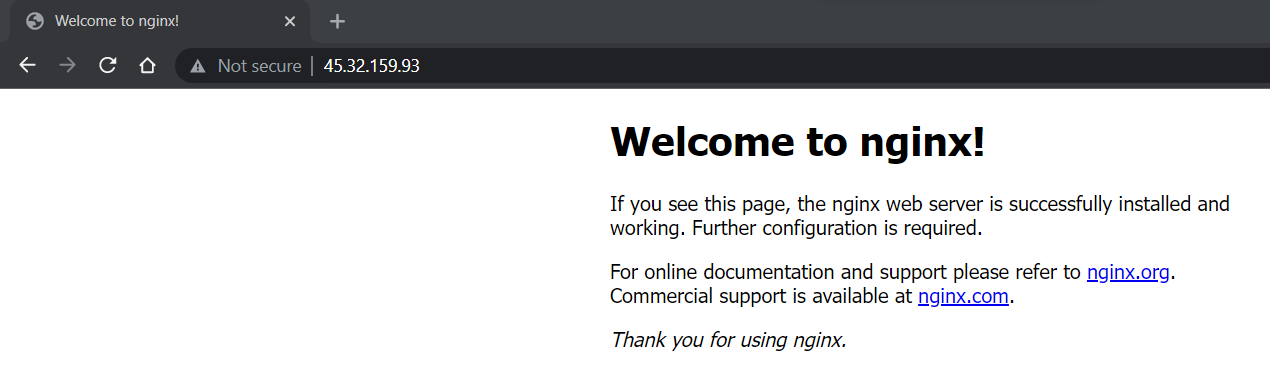
Test Nginx web server
Navigate to your browser and Enter your server's public IP address or domain name.
You should see Nginx default page.
NGINX Configuration
Now that you have learned how to install and set up Nginx. It's time to configure Nginx as a reverse proxy to point to your API.
- Remove the default Nginx config
sudo unlink /etc/nginx/sites-enabled/default
Restart Nginx by running the following command
sudo systemctl restart nginx.service
- Create index.html file
mkdir -p /var/www/test.com/html
sudo nano /var/www/test.com/html/index.html
add the following HTML code
<html>
  <head>
    <title>Hello world!!</title>
  </head>
  <body>
    <h1>Hello world!!</h1>
  </body>
</html>
- Create a config file for your app
sudo nano /etc/nginx/sites-available/test.com
Add the following config below:
server {

        listen 80;
        root /var/www/test.com/html;
        index index.html;

        server_name _;

        location / {
        try_files $uri $uri/ =404;
    }
}
- Enable the server by symlinking to the /etc/nginx/sites-enabled directory
sudo ln -s /etc/nginx/sites-available/test.com /etc/nginx/sites-enabled/
Change test.com with your config name.
- Restart Nginx service
sudo systemctl restart nginx.service
- Verify your configuration
sudo nginx -t

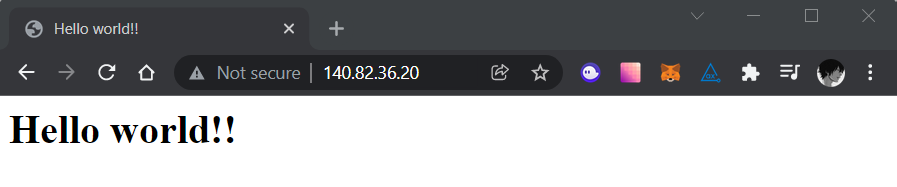
- Verify in the browser
Open the browser and navigate to your server IP address, You should see the following:
Conclusion
This article showed you how to install and configure Nginx on Ubuntu, You can now start deploying your apps and use Nginx as a web server or reverse proxy.